I found a vintage mid-century side table on Craigslist a few months ago. It had great bones and a lovely wood grain, but unfortunately the tabletop was worn and deeply scratched. Since the rest of the piece was in good condition, I decided to buy the table and refinish the top. I will take you through the process, which can be applied to any simple refinishing project.
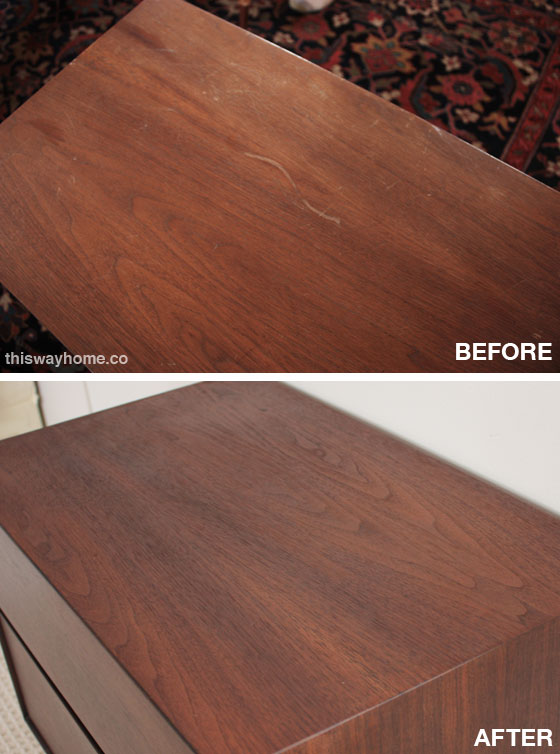
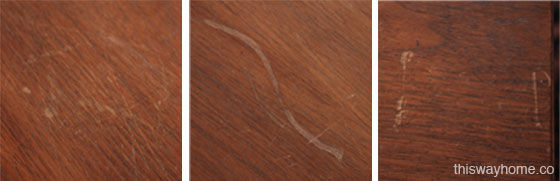
Here are some close-ups of the original damage. That middle scratch was about 6 inches long and a few millimeters deep. The top was also several shades lighter than the rest of the table from years of use and wear.
The Process
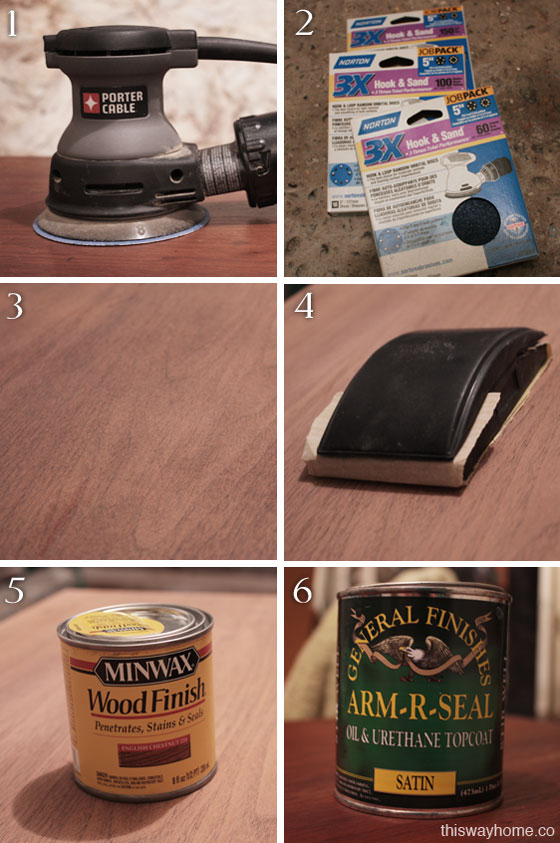
- The first step is to remove the original finish and sand down any visible scratches. I used an orbital sander to expedite the process, but you can certainly do this by hand. This table has a wood veneer, a thin decorative layer of higher quality wood that surrounds the central structure, so I had to be careful not to sand through the veneer.
- I used three grits of sandpaper with my orbital sander: 60, 100, then 150. You want to start with the roughest grit and move progressively finer.
- This is what the tabletop looked like after using the orbital sander. The old varnish and scratches were gone, but the surface felt rough to the touch.
- Next I hand sanded the table with 180-grit and finally 220-grit paper. I recommend a sanding block when working on a flat surface; it gives you a natural grip and helps prevent indentations from applying uneven pressure.
- The most critical step of refinishing wood is picking the correct stain color. If you don’t see the right color at the store, feel free to mix two stains together until you reach the right hue. I was lucky that Minwax’s English Chestnut matched the rest of my table perfectly. Apply stain with a soft rag in the direction of the grain. The stain will get darker with each coat, so start light and build the color slowly. Stain needs 7-8 hours to dry. I left mine overnight just to be safe.
- The last step is a protective topcoat. I used Arm-R-Seal topcoat in Satin. The rest of the table does not have a shiny finish, so I chose satin rather than glossy. The topcoat will be dry to the touch within a few hours, but it takes a few days to dry fully.
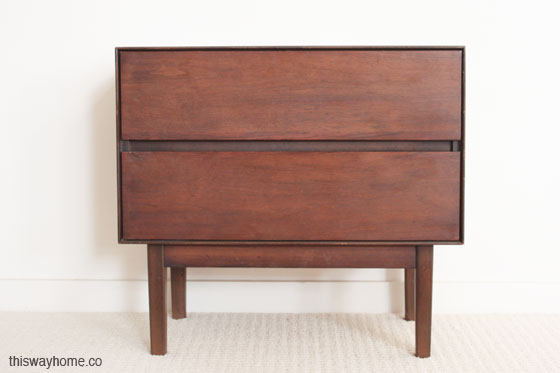
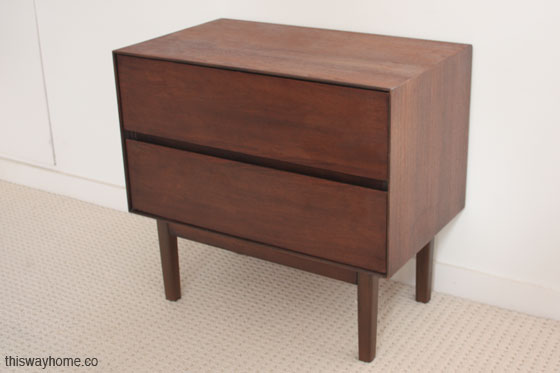
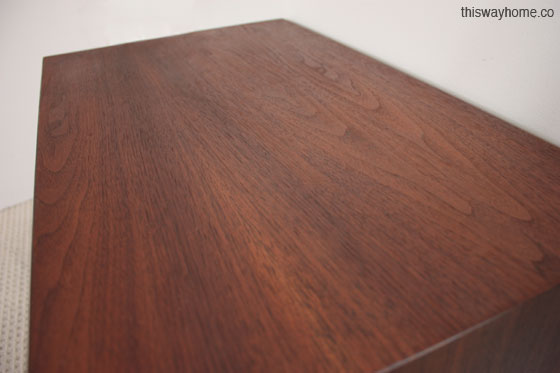
The whole process was quick and painless– and now this pretty table has a new lease on life! Here are some photos of the finished piece.