
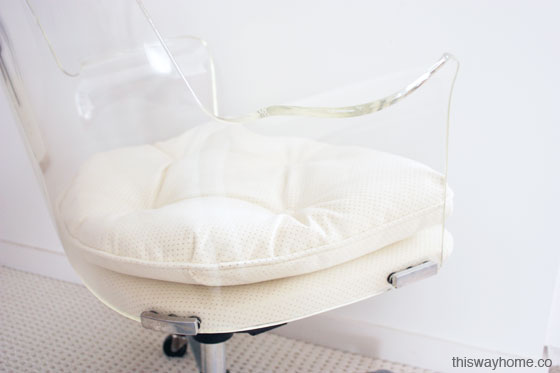
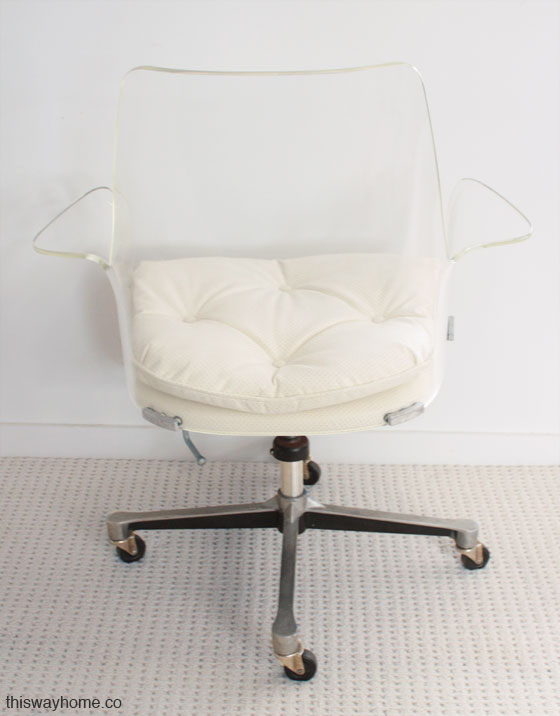
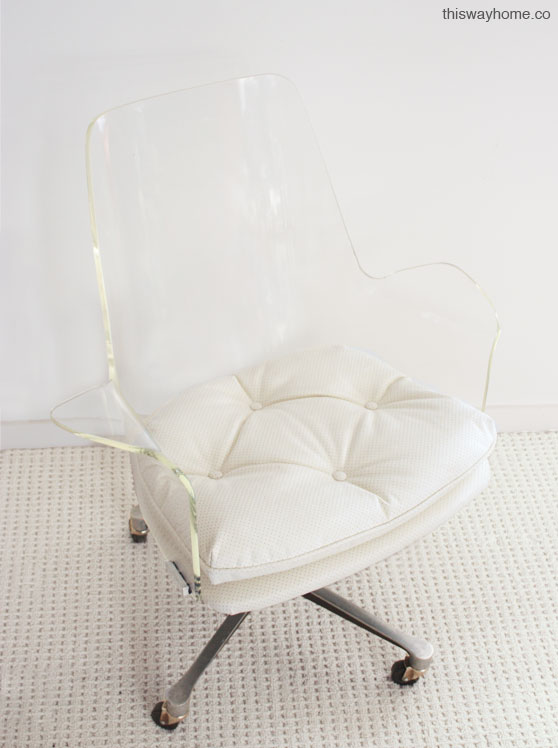
Those of you who follow my instagram or twitter may remember a vintage lucite swivel chair I posted a few weeks back. I found the chair on craigslist in a little town just north of New York City. The red vinyl was all torn up, and the lucite body was covered with scratches; but I loved the fundamental design of the piece and decided it was worth restoring. Here is the before and after:
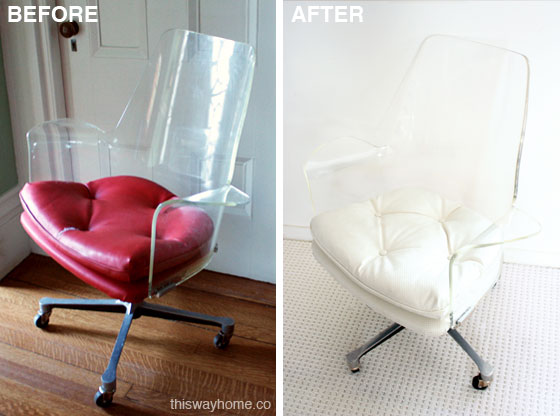
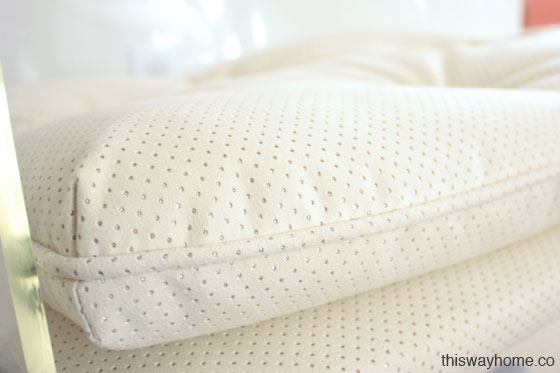
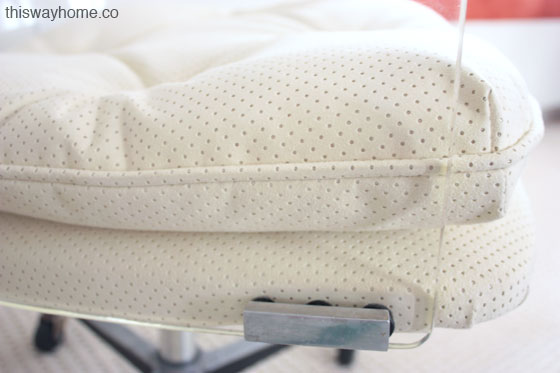
I decided to reupholster the chair in white fabric. The original mod red vinyl was certainly a cool look, but I wanted to give this chair a real transformation. I found a creamy Italian suede for an excellent price at the fabric store. I love the little perforations that reveal a silver backing. The fabric looks simple from afar, but has a bit of personality up close. The silver backing also coordinates with the chair’s hardware.
I took the chair and my new fabric to my favorite local upholsterer. He removed the chair base, and I took the lucite body back to my workshop for restoration.
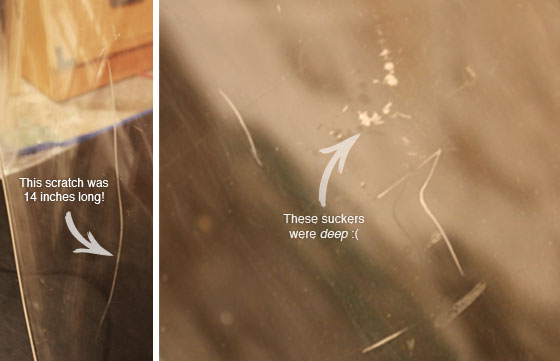
Most scratches can be removed from lucite, but it is a labor of love. I wasn’t 100% sure I would be able to erase the deepest scratches on this chair, but I decided to press on anyway. Here is a step-by-step tutorial:
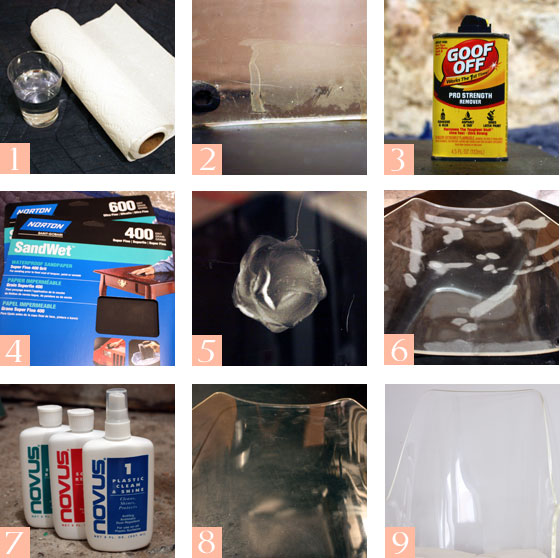
1) Start by wiping down your piece with water to remove dirt and debris. You could also use soap, but never use household cleaners on lucite; over time they create tiny cracks called “crazing,” which is next-to-impossible to remove.
2) My chair had a ring of residue around the bottom edge. It seemed like glue, perhaps from the old upholstery.
3) I used Goof Off and paper towels to remove the residue. I can’t guarantee Goof Off doesn’t interact with the plastic, but since it was a one-time application, I didn’t worry too much.
4) Deep scratches need to be worn down with wet/dry sandpaper. If the scratch is deep enough that your fingernail catches on it, you’ll need to sand it. I used 400-grit and then moved on to 600-grit.
5) Wet a small piece of 400-grit sandpaper and rub the scratch in a circular motion. You’ll see a bit of white frothy stuff (<– technical term). You can stop once the original scratch is barely visible. Repeat the process with 600-grit wet/dry sandpaper.
6) Sanding will produce little hazy spots on the lucite. As you can see in photo 6, my chair had a boatload of hazy spots.
7) This is where acrylic polishing products like Novus come to your aid. They are designed to buff out fine scratches and hazing. I started with Novus 3, which had a moderate impact on the hazing. Novus 2, on the other hand, had a big effect. Use a soft, non-abrasive rag to apply the product.
8) This photo shows the piece after a few rounds of Novus 2. At this point, turn on the radio or some trash TV because you are going to need to rub and rub and rub Novus 2 for hours. Eventually the marks from the sanding stage will disappear. It’s a slog. Once you’re satisfied, spritz on some Novus 1 to give the piece a final polish.
9) And voila! The end result is clean and clear. My chair almost looks new again! Of course it isn’t absolutely perfect, but there are no conspicuous scratches left.
The upholsterer reattached the base, and there you have it! There was no manufacturer label on the chair, so unfortunately I still do not know the maker. But in my research, I did discover that this exact chair is in model Molly Sims’ Hamptons house. Isn’t that nifty?
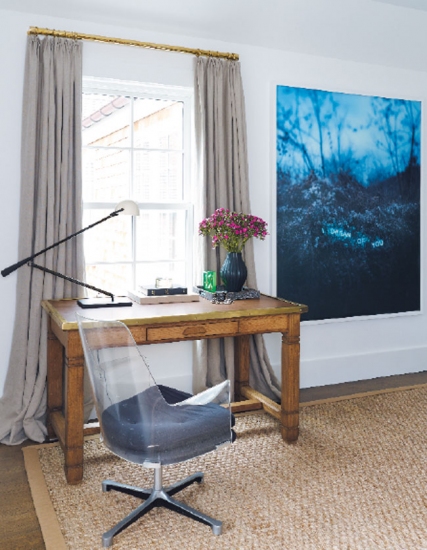
A photo of the same chair in model Molly Sims’ Hamptons house. Source: Cottages & Gardens
Comments 2
You did a wonderful job on that chair! Do you have an “magic” for scratches in a glass table top? Thanks in advance.
Omg! Thank you thank you thank you!!! I bought four of these same chairs- ONLY difference is that my chairs are dining chairs with a tulip base. Amazing! I already used Novus 1-2-3 on it which made them gorgeous & crystal clear. However I have a few scratches here & there. I wanted to sand but wasn’t sure exactly how. Also I have taken mine apart- huge process- but need to sand then have the bases & cushions reupholstered. About how much did your reupholstering cost? I am picking up the all glass dining table base tommorow! So excited