

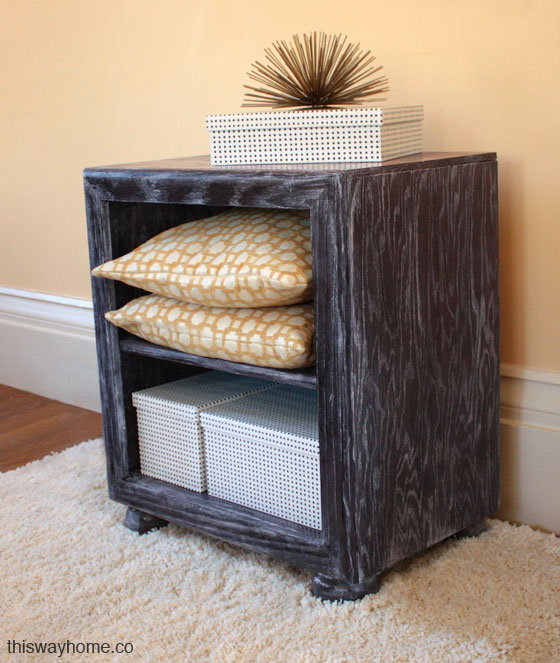
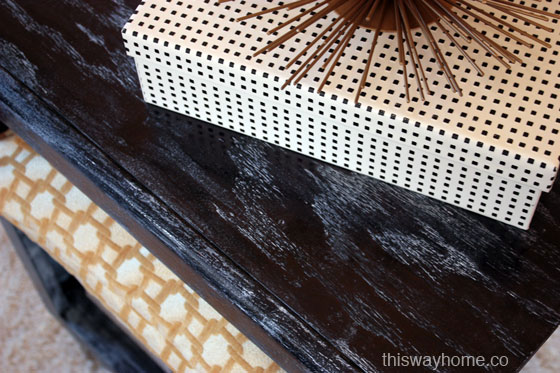
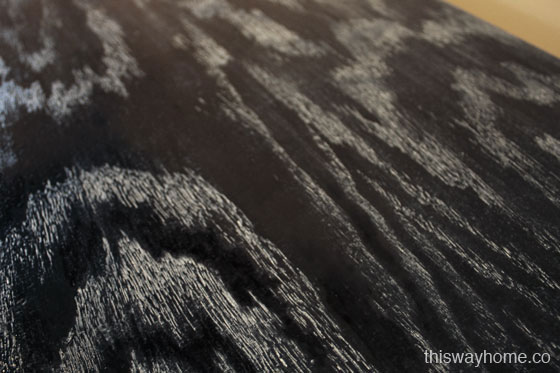
I have always loved the look of ebonized cerused, or limed, oak. The overall finish is a deep black, while the wood grain is filled with white pigment. The sharp contrast accentuates oak’s beautiful grain patterns and creates a high-end, glamorous look. This finish can be achieved in any color combination, but the classic black and white is my personal favorite.
This technique was originally developed in the 16th century as a way to protect wood from insects. Its popularity has ebbed and flowed over time, peaking in art deco and midcentury interiors.
I followed Lynne Rutter’s wonderful tutorial over at The Ornamentalist. My table had a cerused finish originally, so I had to take a few extra steps to prep the surface.
Two pieces of advice on this technique: Firstly, it is essential to create an absolutely clean surface to work with because aniline dye will not absorb through old varnish or residue. Starting with an unfinished piece would be ideal. Secondly, apply your shellac carefully. A light coat of shellac will allow the wax to fill more nooks and crannies, creating a lower contrast finish. More shellac will keep the wax strictly in the large veins of grain. But be careful not to apply too much or your surface will not accept any wax.
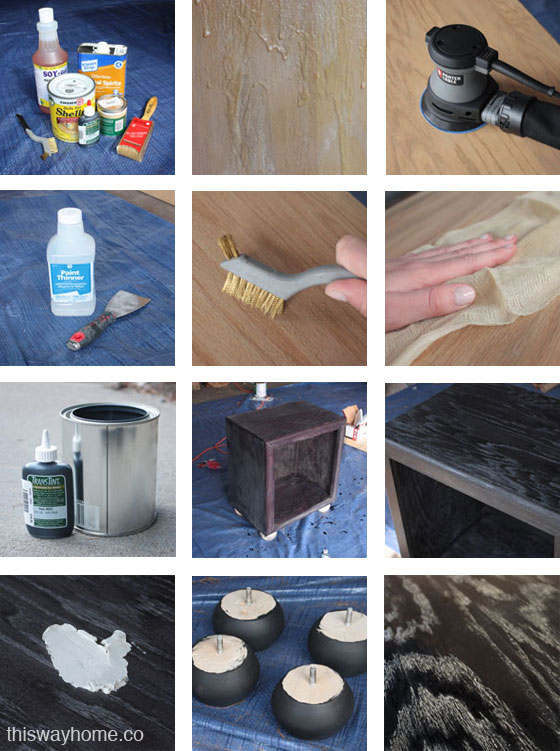
Here are the steps
1) Stripped the old varnish with Soy-Gel.
2) Sanded with an electric orbital sander.
3) The original piece had a cerused treatment, so I used mineral spirits to remove old wax in the grain.
4) The Soy-Gel stripper left a sticky residue, which I removed with paint thinner.
5) Sanded with finer grit sandpaper to get a smooth working surface.
6) Used a brass brush to remove debris from the grain.
7) Used a tack cloth to remove sawdust and other debris.
8) Mixed an ebony aniline dye with water. Aniline dye comes in both powder and liquid forms, and it can be mixed with either water or denatured alcohol. My first coat was a bit too watered down, so I added more dye for the second coat in order to get the deep ebony finish.
9) Then I painted on two coats of shellac. Shellac will make it much easier to remove excess wax in the next step.
10) Used a rag to rub liming wax into the grain and then immediately removed any excess wax with a second, clean rag.
11) Finally I sealed the piece with clear microcrystalline wax.
Comments 3
What a glorious transformation of an ordinary piece into something with character and style. I bet people who see it ask you all the time what it is and how you did it!!!
I have an ebony cerused/limed project coming up. I’m using white Oak, Sanded to 220grit, I’ll use a bronze liming brush to clear out the grain. Remove all traces of sawdust.
At this stage, If I use a shellac wash coat to stabilise the oak for a uniform color, the dye cant soak in can it?
Do you agree?
So I was thinking that I should dye the wood first like you did then use a shellac wash coat to make it easier to remove excess liming wax at the next stage.
I’ll lime the piece, but where we differ is that I’ve found (when liming in the past) that if you let the wax dry first, then wipe the excess off the surface (not the grain) with a clear paste wax in my case. You can get a more vivid white because the liming wax in the pores is more difficult to remove if it is dry first.
I’ve been using Briwax both for their liming wax and for their clear paste wax.
I’d love to swap notes on this if you have the time.
Mark
Author
Hey, Mark! Thanks for your comment. I agree that the dye will not be able to soak in if you shellac first. I am intrigued by your wax technique– getting a crisp grain pattern is so crucial to the finish! In general, I found the wax lifted right off the surface, but there were definitely some areas where it adhered to the pores. I will give your technique a shot next time. I would love to see your project when it’s complete!